The holidays are the perfect time to get crafty with your family. Get into the holiday spirit with these super cute, super easy projects you can do with children of all ages, then display them in your home for all to see!
Fingerprint Christmas Lights

Materials:
finger paint
paper
black marker or Sharpie
Directions:
- First take a black sharpie and draw a line with swirls in it. Then draw little squares along the line spaced out to be the bottom of the bulb part.
- Have the child dip their pointer finger in different color paints (you can use the paint caps to make it easier) and push them right above the black squares. You can do the colors in patterns or have the kids do it randomly!
~ Visit Crafty Morning for more info.
Hanukkah Menorah
Materials
finger paint
construction paper
miniature pom poms
stickers (optional)
markers
Directions:
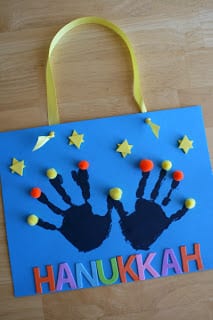
- Carefully paint your little one’s hand with finger paint and press a print onto a piece of construction paper. Their fingers will represent the candles.
- Do the same with the second hand, making sure the thumbs overlap so there are only 9 “candles” not 10. The thumbs in the middle will symbolize the “shamash” or the worker candle that lights the other candles during Hanukkah.
- After your hand prints are in place, decorate your Menorah by drawing designs onto the paper or with stickers. They used triangles to form Jewish stars in the picture at left.
- To “light” the Menorah every night, glue on a pom pom to represent the flame like they did in the picture. Some other ways to do it would be to draw a flame in or get out some yellow paint and use your child’s thumbprint for the flame.
~ Visit My Baby Faves for more info.
Santa Handprint
Materials:
white paper
black and red markers
black paper for mounting
googly eyes (optional)
small white pom poms or cotton balls
glue
scissors
Directions:
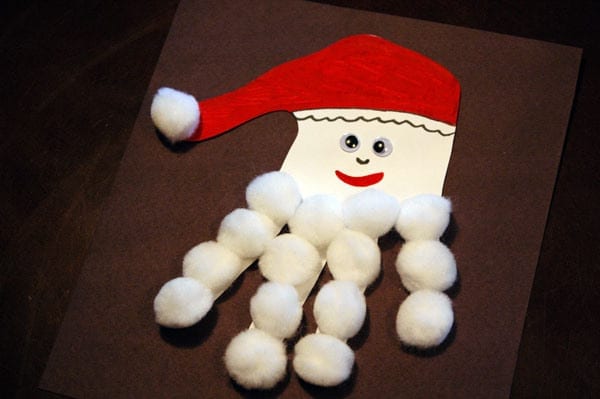
- Draw an outline of the child’s hand using the white paper and black marker.
- Cut the handprint out.
- Draw Santa’s hat in the thumb area with the red and black markers.
- Glue a pom pom or cotton ball onto the thumb/tip of the hat.
- Add pom poms or cotton balls onto all of the remaining fingers to form a fuzzy beard.
- Glue googly eyes onto the middle of the face. Let kids experiment with different sizes and colors for the eyes. If you don’t have googly eyes on hand, kids can just draw eyes.
- Draw a mouth and nose with the red and black markers.
- Mount it onto a black backing and show it off!
~ Visit Right Start Blog for more info.
Santa and Reindeer Stick Puppets
Materials:
jumbo craft stick or popsicle stick
red cardstock paper (or construction paper)
white cardstock paper (or construction paper)
white cupcake liner
apricot colored crayon
small white pom pom
small red pom pom
googly eyes
glue stick
Directions:
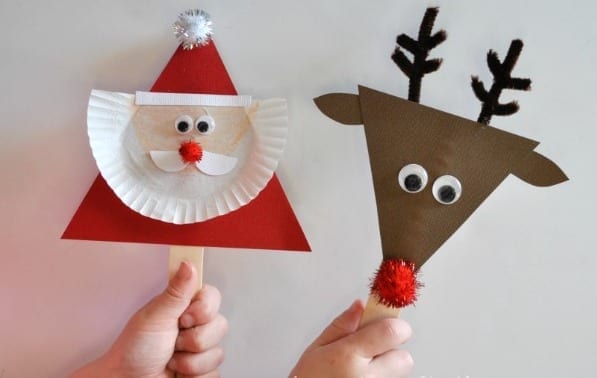
- Start by cutting 1/3 off the top of your white cupcake liner. Color the inside circle section with your apricot crayon.
- Cut a triangle out of your red cardstock paper. Glue your cupcake liner in the middle of your red triangle.
- Cut a small circle and a thin strip from your white cardstock paper. Cut the circle in half.
- Glue on all the finishing features to your Santa: A white pom at the top of the hat, the white strip for the brim of the hat, googly eyes, the two half circles for a mustache and your small red pom pom for the nose.
- Cover your jumbo craft stick half way down with tacky glue and then attach your Santa to it. Let it dry completely before playing with it.
Note: You can also omit the jumbo craft stick and use your Santa as a Gift tag also. Simply punch a hole in the hat of your Santa, write who the gift is to on the back, and attach it to a gift.
~ Visit I Heart Crafty Things for Reindeer Craft Tutorial and more info.
Handprint Christmas Tree
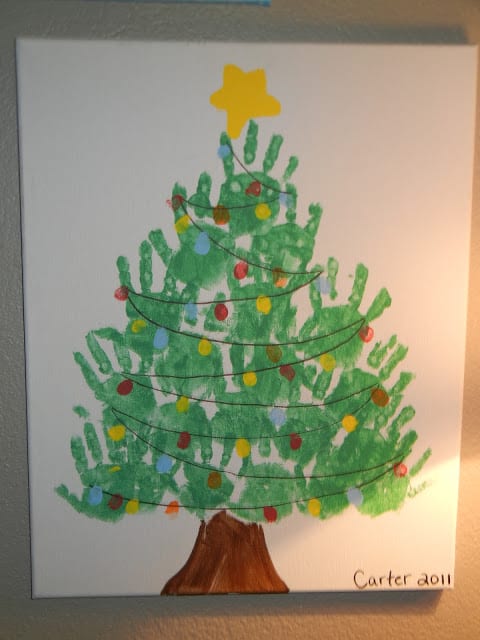
Materials:
paint
Sharpie marker
pencil
canvas or poster board
Directions:
- Used a pencil to do a rough sketch to outline the tree on the canvas or poster board.
- The bottom two rows are both made up of 5 of your child’s handprints, then the next row is 4 handprints, then 3, then 2, then 1.
- Paint the tree trunk and the star.
- Draw the light string with a sharpie marker,
- Use your child’s fingerprints for the colored lights.
~ Visit Pinterest Told Me To for more info.
Kwanzaa Kinara
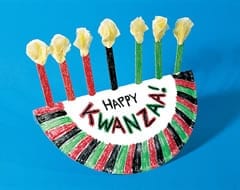
Materials:
9-inch paper plate
hole punch
markers or crayons
seven ice-cream sticks
scissors
tissue paper
glue
tape, if necessary
Directions:
- Fold a 9-inch paper plate in half. On the fold, punch seven evenly spaced holes.
- Decorate both sides of the plate.
- For candles, color seven ice-cream sticks: three red, one black, and three green.
- Cut out seven “flames” from tissue paper. Glue one at the end of each candle.
- Push the candles through the holes in the folded plate. If necessary, use tape to hold each candle in place.
~ Visit Highlights Kids for more info.
Christmas Wreath
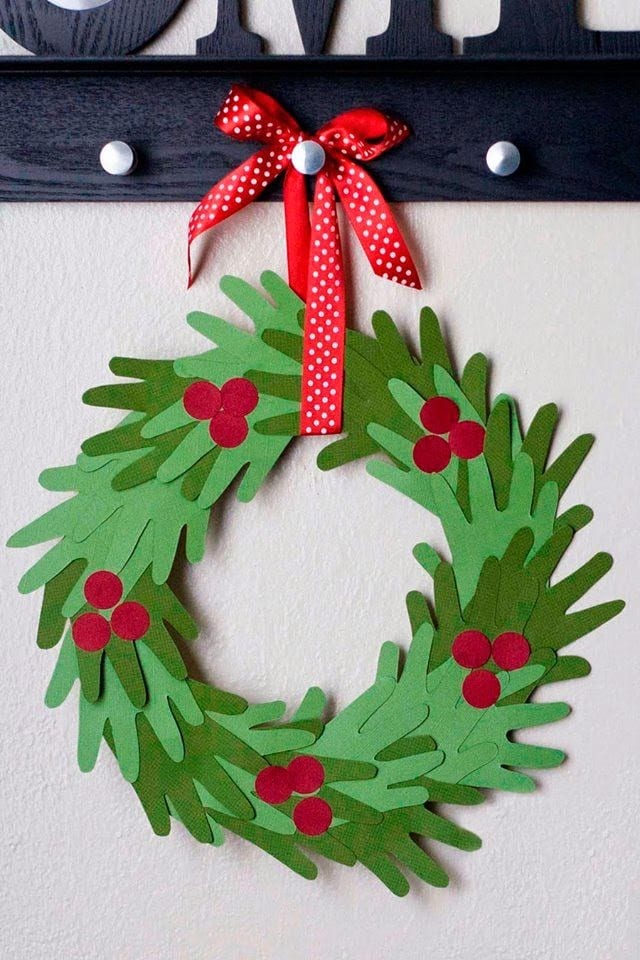
Materials:
pen
chipboard (you can use a cereal box)
6-8 green colored cardstock or construction paper
red Cardstock or construction paper
small round circle punch
scissors
adhesive
large round plate
small round bowl
ribbon
Directions:
- Trace your child’s hand onto the chipboard to make a template.
- Cut out the hand template and set it aside.
- Onto a 12 inch green colored cardstock, trace your circle for your wreath.
- Place your bowl in the center of your new wreath form and trace. The thickness of your wreath really is determined on how big or small your child’s hand is. If you are doing baby hands, you might want to go with a slightly thinner wreath.
- Cut out your circles.
- Using your hand template, trace and cut out about 20-25 hands out of the remaining colored cardstock.
- Adhere them on with a little liquid glue.
- Finish it off with a few red “berries” that are punched out of red cardstock using a 1″ circle punch and adhered on.
- Tie a ribbon around it for a hanger.
- Write the child’s name, age and date it was done.
Visit My Name is Snickerdoodle for more info.
Paper Plate Grinch
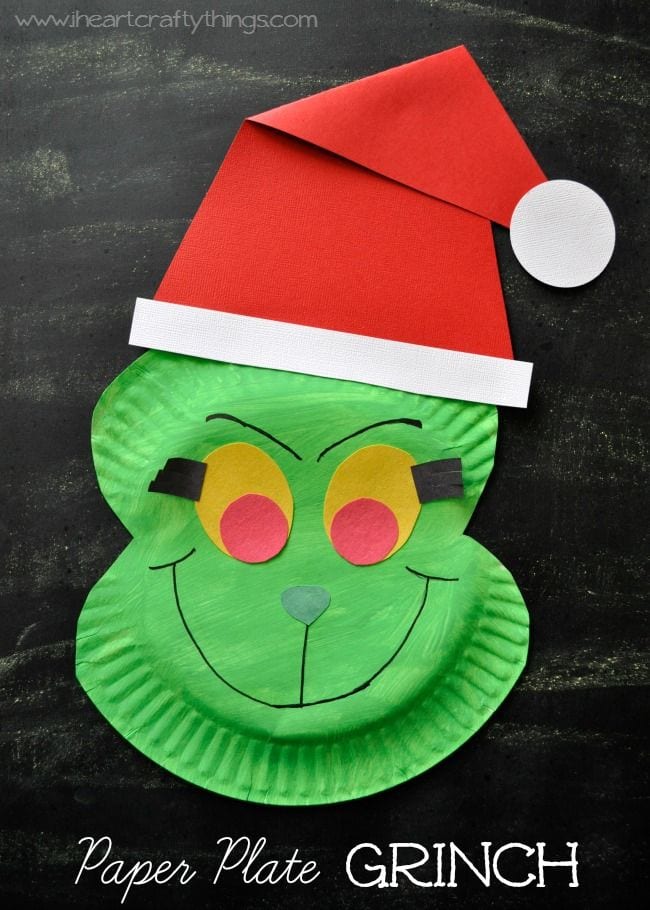
Materials:
paper plate
lime green paint
paint brush
sheet of red cardstock paper (you could also probably use construction paper)
white cardstock paper (or construction paper)
scissors
red, yellow, black and green construction paper
black marker
glue stick or school glue
Directions:
- Start by painting your paper plate with lime green paint. Let it dry completely.
- After your paper plate is dry, cut a piece off of each side that is shaped like a curvy triangle.
- To make the Santa hat, cut a large triangle out of your red cardstock paper. Cut the red cardstock paper length-wise at 7 inches. Then use a ruler to draw a line connecting the middle point at the top of the paper to each bottom end point. Also, cut out a 7 inch strip from your white construction paper and a 2 inch circle.
- Assemble your Santa hat by folding the triangle down about half way and creasing it so the top section falls to the side of the hat. Add some glue under the fold so the paper stays laying flat. Now glue on the white circle and strip of white paper to finish your hat.
- Glue your Santa hat to the top of your paper plate.
- Cut the face pieces you need out of your construction paper: oval eyes out of yellow, circle pupil from red, eyelashes out of black (you may choose to omit these and draw them on with marker), and a green nose. Glue the eyes, eyelashes and nose onto your Grinch face.
- Finish your Grinch by using your black marker to draw on eyebrows and a mouth.
~ Visit I Heart Crafty Things for more info.
Craft Stick Star of David

6 craft sticks
9 small tear drop woodsies
blue & yellow paint
silver & gold glitter
Tacky Glue
6″ of cord
- Paint craft sticks blue. Paint woodsies yellow. Let dry.
- Glue three of the craft sticks into a triangle. Repeat with the other three craft sticks.
- Glue one triangle upside down on top of the other to make a Star of David.
- Glue woodsies along the top to make a Menorah.
- Run a bead of glue all around the star. Sprinkle on some silver glitter. Shake off extra.
- Dab a little glue onto each tear drop. Sprinkle on some gold glitter. Shake off extra.
- Glue cord in a loop to the back for a hanger.
~ Visit Making Friends for more info.
Mistletoes
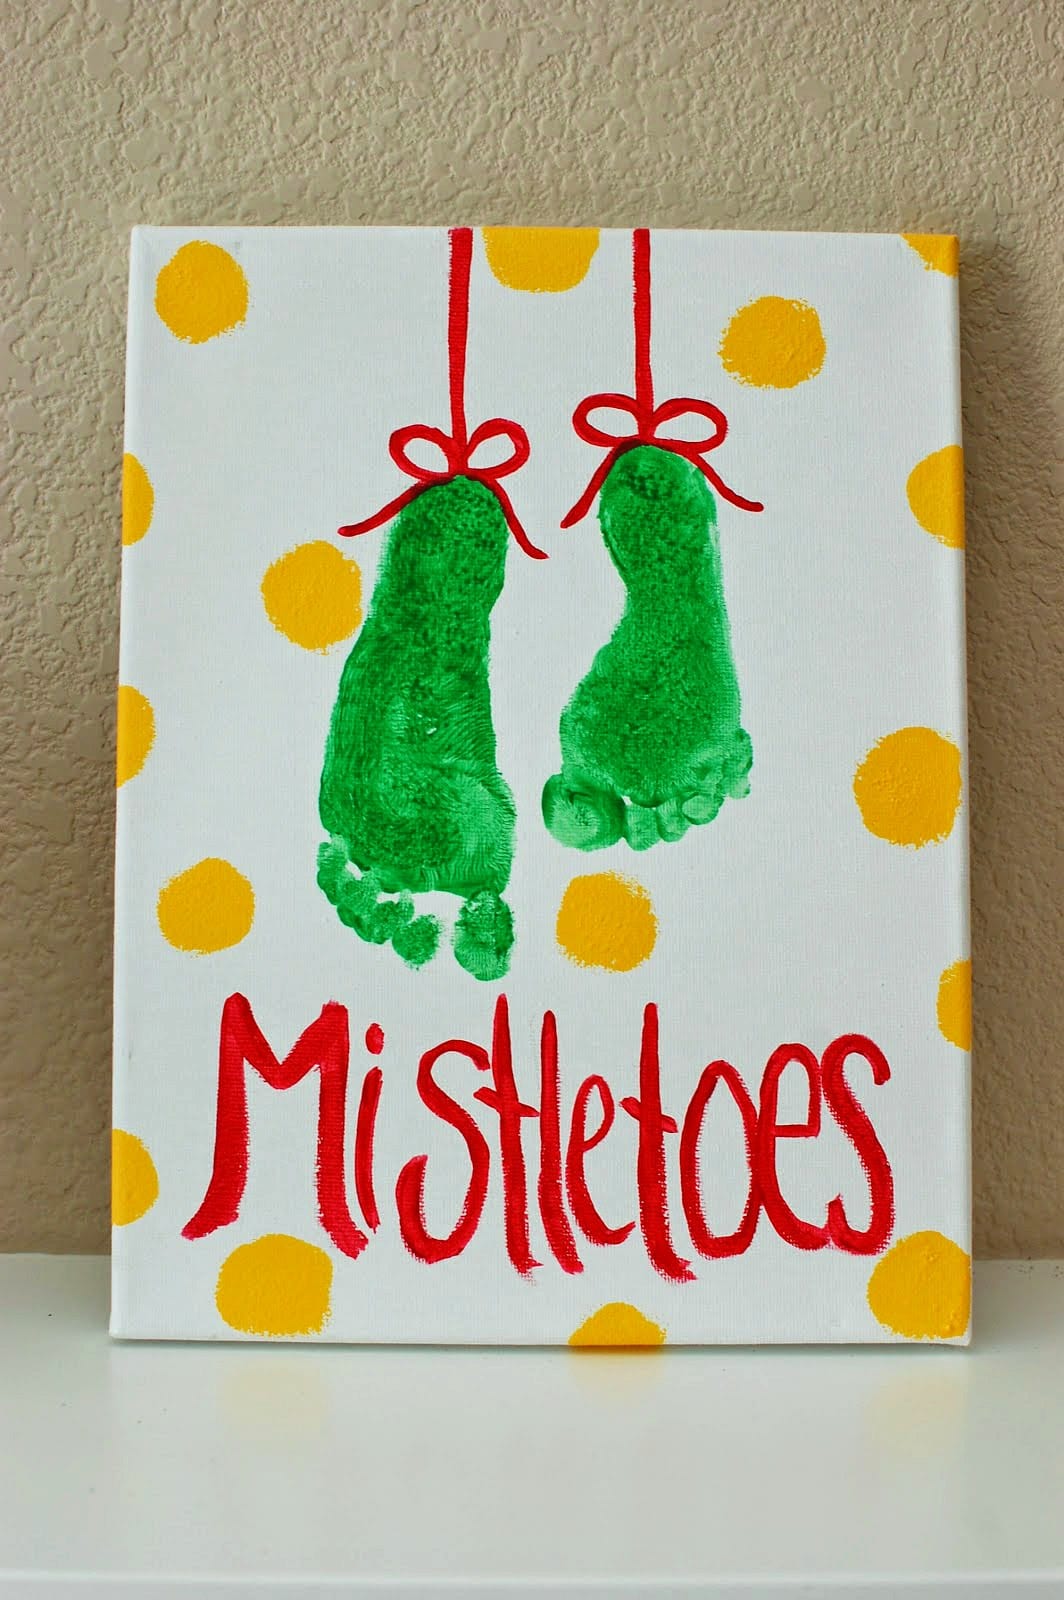
Materials:
Canvas
Paint
Directions:
- Use the kids’ feet print for the “Mistletoe”
- Let dry.
- Paint on ribbon, lettering and polka dots
~ Visit Pinkie for Pink for more info.
CLICK HERE to head back to our Holiday Happenings page for more holiday fun!
Read Next | Learn about Staten Island Home Improvement and Contractors

